

This blog is dedicated to reporting the movements and musings, the updates and observations of the Erber family; including their personal, business and ministry pursuits and activities, as well as miscellaneous commentary on life in general and their family, friends and relations in particular.


6 comments:
VERY NICE!
It looks like it was ALOT of work!
A job well done;what an experience!
ANNA
Laides using pneumatic power tools??? All right!
:D
Bravo! It looks terrific.
Now you'll have to do another one pretty soon so you don't forget all you've learned. ;o)
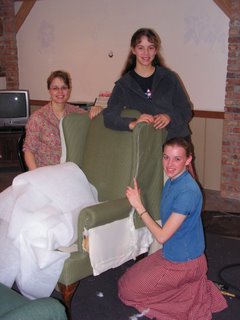
Wow. We are impressed. How long did the whole project take? Did you have to replace springs, stuffing, etc or just the upholstery?
R for the SC
Let's see - we started it on Wednesday night and finished it (aside from a little work on the cushion) Saturday afternoon. We replaced some of the "stuffing" and glued one of the wings that was a little wiggly. Other than that, we just replaced the upholstery.
Great job! Anytime you want more practice come on down and work on the couch and love seat here. Just kidding (about the work not the visit). It is always great fun to learn new skills!
Post a Comment